本文将使用Spring、SpringMVC和Mybatis框架来做一个简单的web项目。
从中,你可以学习到ssm是如何集成的。
本文中使用的数据库SQL如下:
1 | CREATE DATABASE /*!32312 IF NOT EXISTS*/`k2502` /*!40100 DEFAULT CHARACTER SET utf8 */ /*!80016 DEFAULT ENCRYPTION='N' */; |
1:创建工程
首先,创建一个Maven工程。
下一步(如图操作)。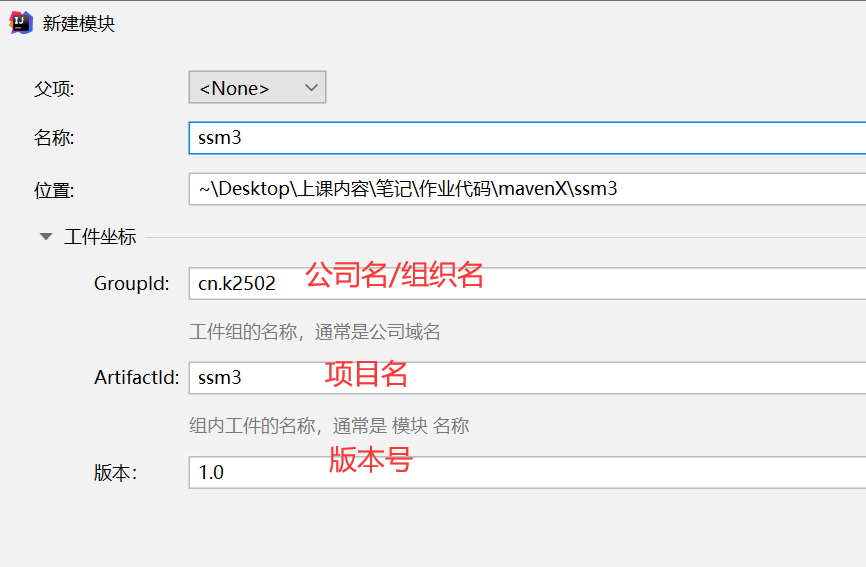
下一步,默认,创建(第一次会从远程下载)。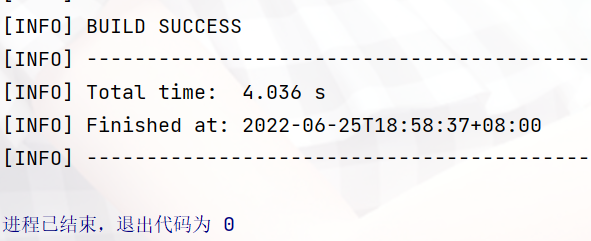
初始化完成。
2:配置文件
pom.xml
首先是pom.xml文件,建议除了项目名外其他的都复制、粘贴。
依赖多没事,依赖少了有事。
1 |
|
上面都有注释,不需要过多的解释,如果不懂,自行百度。
创建项目结构
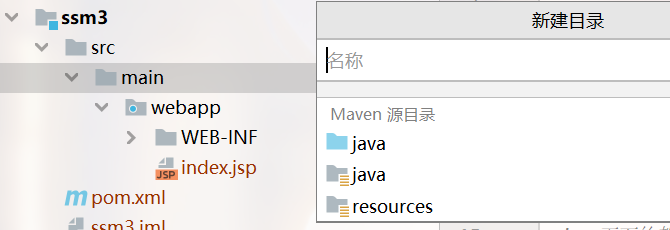
在src/main文件夹上新建目录java和resource(上图直接点击即可)。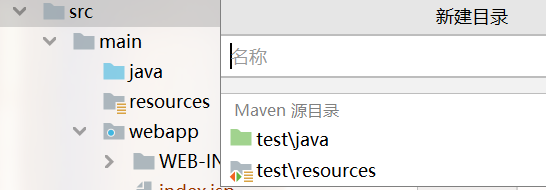
在src上新建文件夹test\java(测试文件夹,如果你不需要也可以不建)。
完成之后的项目结构如下图所示: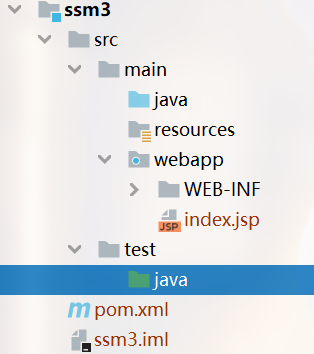
我们接下来把资源文件方在resource目录下。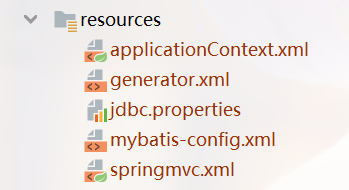
jdbc.properties
该文件放数据库链接的配置信息。
1 | jdbc.driver=com.mysql.cj.jdbc.Driver |
注意,如你使用MySQL5.X的驱动,请使用com.mysql.jdbc.Driver,而非cj(MySQL8.X建议使用)。
mybatis-config.xml
该文件提供了对于mybatis的配置信息,(已经删除了对于数据库的链接信息)
1 | <?xml version="1.0" encoding="UTF-8"?> |
generator.xml
该文件可以自动生成对应的dao层信息,逆向工程。
1 | <?xml version="1.0" encoding="UTF-8"?> |
请对应需要自动生成的部分,特别是本地的MySQL驱动所在的位置。
springmvc.xml
该文件对是配置了springmvc的信息。
1 | <?xml version="1.0" encoding="UTF-8"?> |
请先在文件夹中创建控制器包。(顺便将其他的包也创建一下)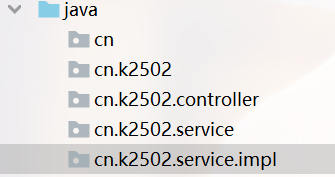
配置了springmvc后,一定要记得配置核心控制器,需要配置在webapp/WEB-INF下面的web.xml文件。
web.xml
该文件提供了对于服务器的一些配置信息。
1 | <web-app xmlns="http://xmlns.jcp.org/xml/ns/javaee" |
建议直接覆盖原来自动生成的文件。
applicationContext.xml
该文件为spring的核心配置文件,提供bean对象的创建和管理。
1 | <?xml version="1.0" encoding="UTF-8"?> |
目前用该配置即可,如有需要,请自行添加创建bean对象。
以上配置由周总提供。
几个明显的变化:
- 用插件自动生成,而不是工具类
- 对generator文件改造,使用相对地址,而非绝对地址
- 数据源使用druid而非c3p0
总的来说,你无需对他配置进行太大的修改就可以直接上手使用。
3:逆向工程
因为已经替换成插件了,所以我们在插件里面选择构建执行就可以了。
点击即可,而无需太多的操作。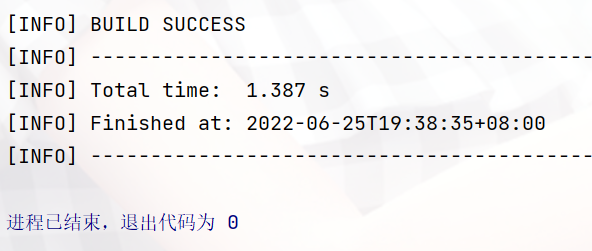
一秒后构建完成。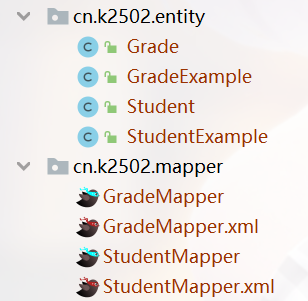
对应的实体和dao也生成出来了。
4:编写业务
如果我想在首页显示所有的学生信息,那么首先就要写学生的业务。
4.1先写学生业务接口:
1 | package cn.k2502.service; |
4.2再写学生业务实现类:
1 | package cn.k2502.service.impl; |
4.3编写控制器:
1 | package cn.k2502.controller; |
4.4编写首页index.jsp
1 | <% language="java" contentType="text/html;utf-8" pageEncoding="utf-8" %> |
4.5开启tomcat服务器测试
我们用插件来开启tomcat服务器测试一下。
GO!阿弥陀佛,一次就过!
我们去访问项目地址:http://localhost:8080/show测试一下
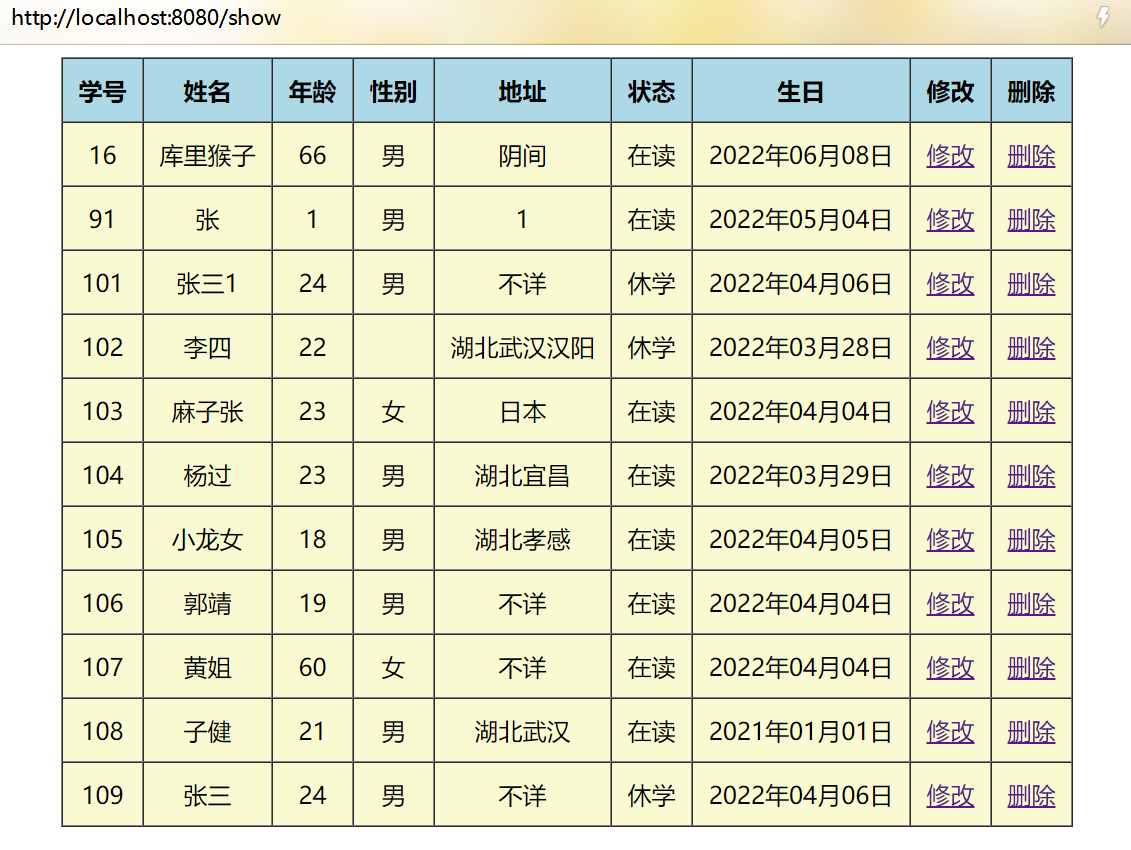
OK!成功访问,暂时就是这样啦!